SHOOT WITH TASTE!
PHOTOGRAPH WITH TASTE!
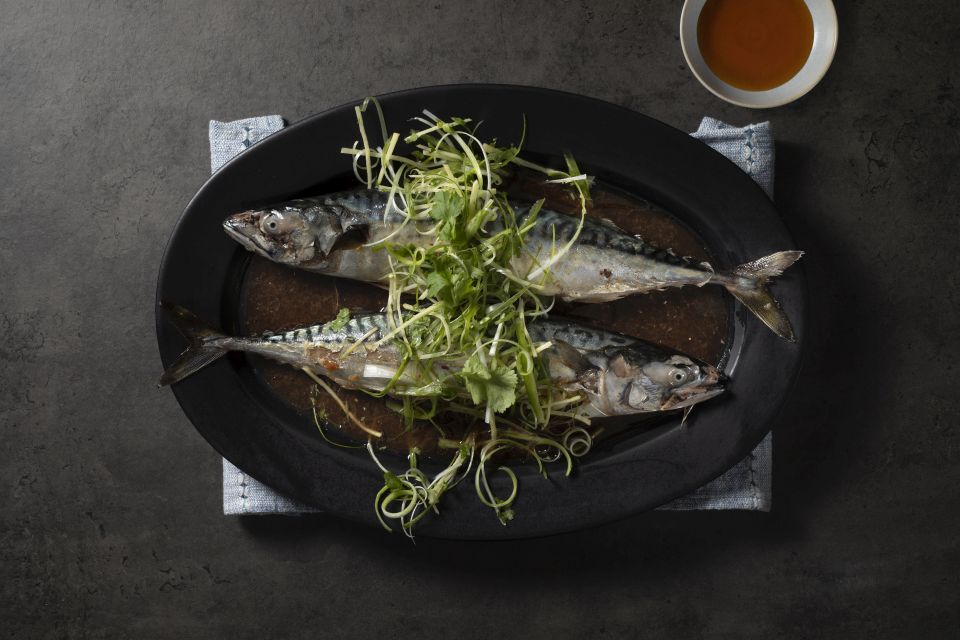
Food photography has become very popular, and photos of dishes or even fancy drinks and cocktails are more and more often seen not only in menus or posters, but also in the social media of the culinary industry. How to make the photos of dishes whet the appetite of viewers? With help comes scenography, interesting compositions, but also the often underestimated light, which, with proper modeling can create amazing scenes.
The goal of food photography is to present food in the right environment - building mood and telling stories.
@Tim Stubbings
Visual curiosity
What is food photography for? Professional culinary photography is not just a nice photo, but an effective way to present your product in a uniquely aesthetic and appetizing way. It is a fact that customers buy with their eyes. By using the services of an experienced culinary photographer, companies are confident that they will attract customers, and this will translate into contact and profit.
Advertising
The photographer's priority is to ensure that the advantages of the products photographed are shown in an optimal way. Food photographers typically create advertisements that are used not only in the food industry, but also in the catering industry and in the advertising of kitchen appliances, ceramics, and even flowers or semi-finished products. The range of clients interested in food sessions is wide. There are clients expecting simple and not too complicated shots, up to professional productions requiring an organized team, which usually includes an art director, photographer, food stylist, prop stylist and supporting assistants. The industry is heavily professionalizing and growing. There should be an ever-increasing number of assignments for professionals.
@Tim Stubbings
Composition, experimentation and imagination
In food photography, composition is fostered by experimenting with colors, backgrounds, and textures. Don't be afraid of bold ideas. As long as they serve an effect, they work to your advantage. Movement, smoke, steam - these are also special effects we can use to add variety to our images. Take inspiration from other photographers, but also from commercials, film, and paintings.
@Tim Stubbings
Tricks of the food photographers
Some tricks used by photographers are simple and intuitive e.g. smearing fruit with oil to make it shine beautifully. Others already make many dishes inedible. Engine oil instead of syrup is more durable, glycerin droplets will not disappear as quickly as water.
It is an accepted rule of thumb that mashed potatoes (with added coloring) are often used in ice cream photography instead of real ice cream. This way we don't have to keep the temperature in the studio near freezing and we get more time to refine the shots. Ice cubes are also impractical, the solution? Acrylic ice cubes. A nicer foam on coffee? A dab of dish liquid. Whipped cream? Shaving foam. We could go on and on, but we certainly couldn't list all the tricks, we're only limited by our imagination!
The key importance of lighting
Once the scenario of the shoot has been worked out, all the accessories for the shoot are in place, you need to move on to lighting the set. Of course, you can use daylight, however, we can't always count on a clear day with enough sun. Sunlight, despite its many advantages, is also difficult to adjust, dim or simply model. So what kind of light should we use if we want to have full control? Flash or continuous.
What are the differences between them? Flash light is usually more powerful than continuous. It also doesn't generate as much heat, which is quite important in this type of photography.
Setting up continuous light lamps, however, will be simpler. We can see the effect of the light distribution in real time, where with flash we have to check the effect only on the screen of the camera or laptop. They are also easy to mix with daylight, and after applying filters (mainly CTO) - with incandescent light e.g. in a restaurant. The downside will be mainly the lower power compared to flashes in a similar budget, and the fact that when you want to work only with continuous light, you need to darken the room.
@Tim Stubbings
Which light to choose for food photography?
When it comes to food photography, it's a good idea to use a lamp with an adjustable power output. Sometimes we'll need a lot of light to keep the entire photo in focus, but we may also decide to have a shallow depth of field and a strong light can make that difficult.
The LED Panels (LED500C/LED500W) should be an inexpensive and creative light source to start your journey with food photography. The LED500C version offers us a variable light temperature, and the LED500W is a bit more powerful, but only shines with a constant daylight temperature - 5600K. The advantages of these panels are their light weight, the possibility to power them with NP-F batteries (which also means convenient work outdoors) and readiness to work also without additional light modifiers.
If you are just starting out, and you do not know whether you prefer flash or continuous light, an interesting option will be the LF308 panel, which provides continuous light by default, and also has a FLASH mode, in which it can provide up to 4 times more light than in the case of constant light.
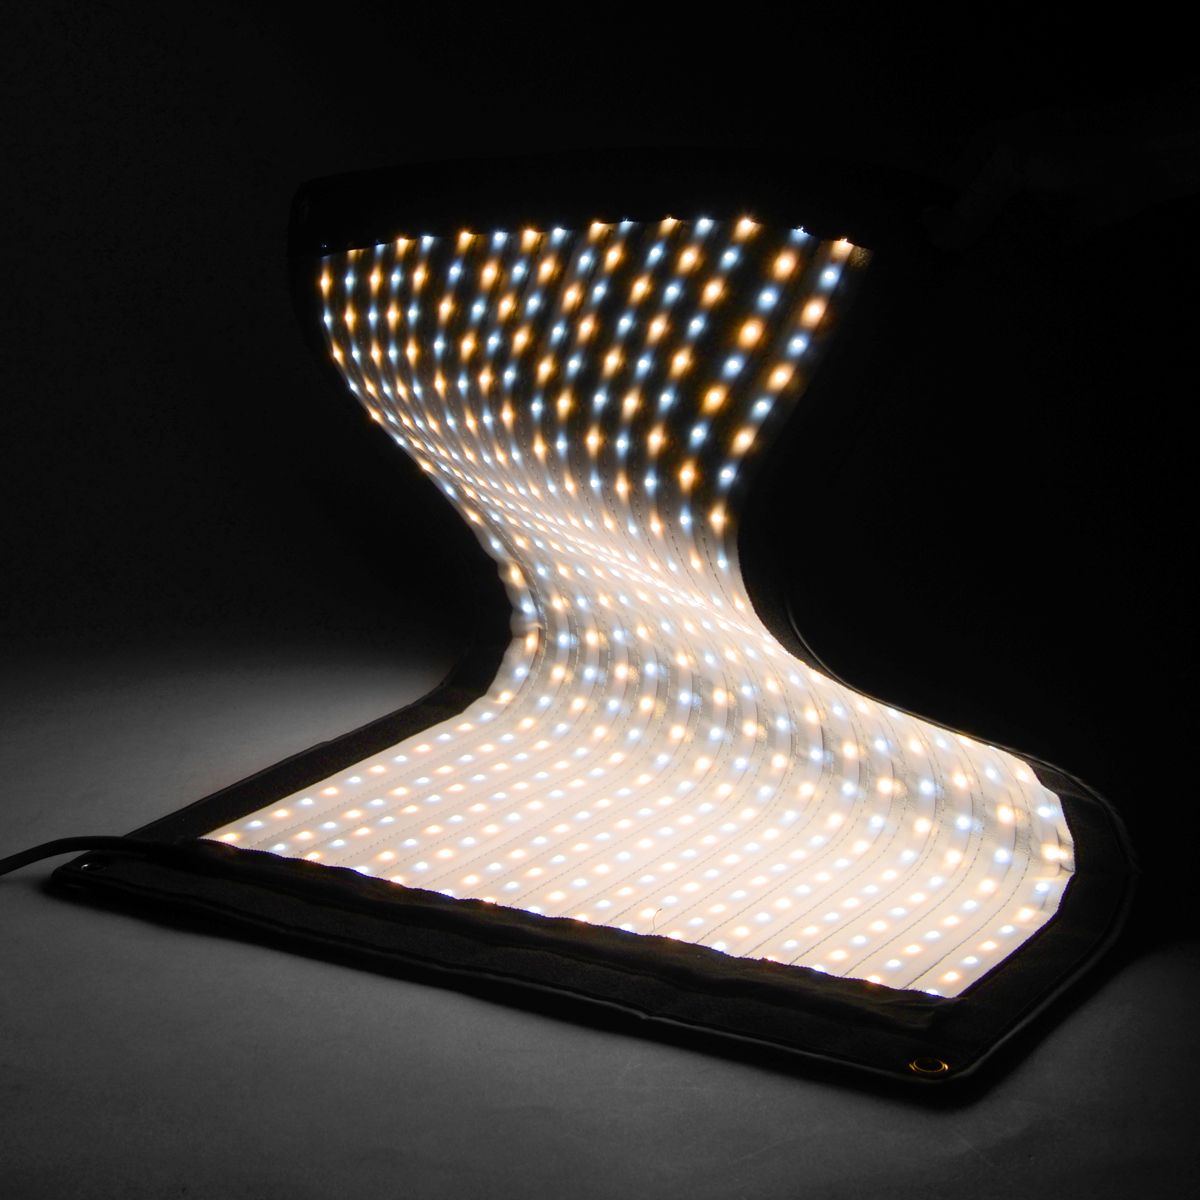
Or maybe you could use a little flexibility? Flexible panels will fit anywhere! Each model can be powered outdoors with V-mount batteries, has variable color temperature, provides strong light and, importantly, can be bent into any shape. You can see how working with them looks like below:
When you want to stay mobile, but gain more control over the light by using reflectors, softboxes, snoots, and also significantly increase the power of the set - advanced lamps from the AD series will help you. We suggest the AD300Pro/AD400Pro - it will be the perfect compromise between flash power and portability. Both flashes also have many features that make shooting easier, such as TTL, HSS and powerful modeling light.
If experimentation and creativity is our middle name - we especially recommend the S30 LED, which thanks to a fresnel lens and many accessories such as: projection attachment, lenses, gobo, iris, color filters, will create the light effect, which is hard to find in competing photographers.
Modifiers change a lot
We've already agreed that a poorly lit photo will not make us hungry or thirsty. Photographs that look flat and expressionless will not sell the product. Having a light source, which has the ability to attach a modifier is worth testing and adjust the appropriate solution. Most often large softboxes will be used, but you can also reach for classic reflectors, barndoors, also with honeycomb or snoot. In food photography, it is worth to divide the photo into individual plans and illuminate the main dish separately, and use the second lamp on the next plan or to illuminate only the contours from another side.
Now there is nothing left but tasty experiments! Theories are best combined with practice. Photograph as much as you can, but make sure that your compositions and lighting are well-thought-out. Peep the work of established photographers, draw conclusions, learn, but most of all - have fun!
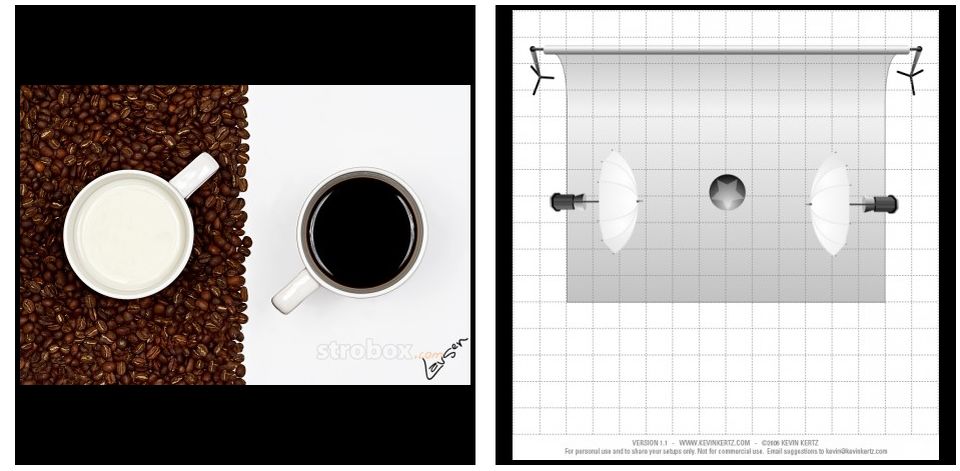
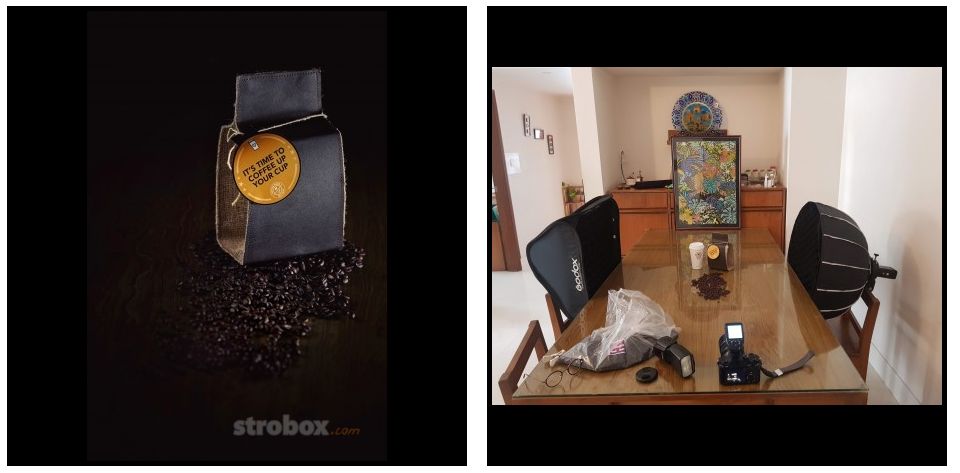
Here are some sample lighting schemes:
@Gert Lavsen
@Damien Thorne
All comments